














Video transcript
7-minute video ·
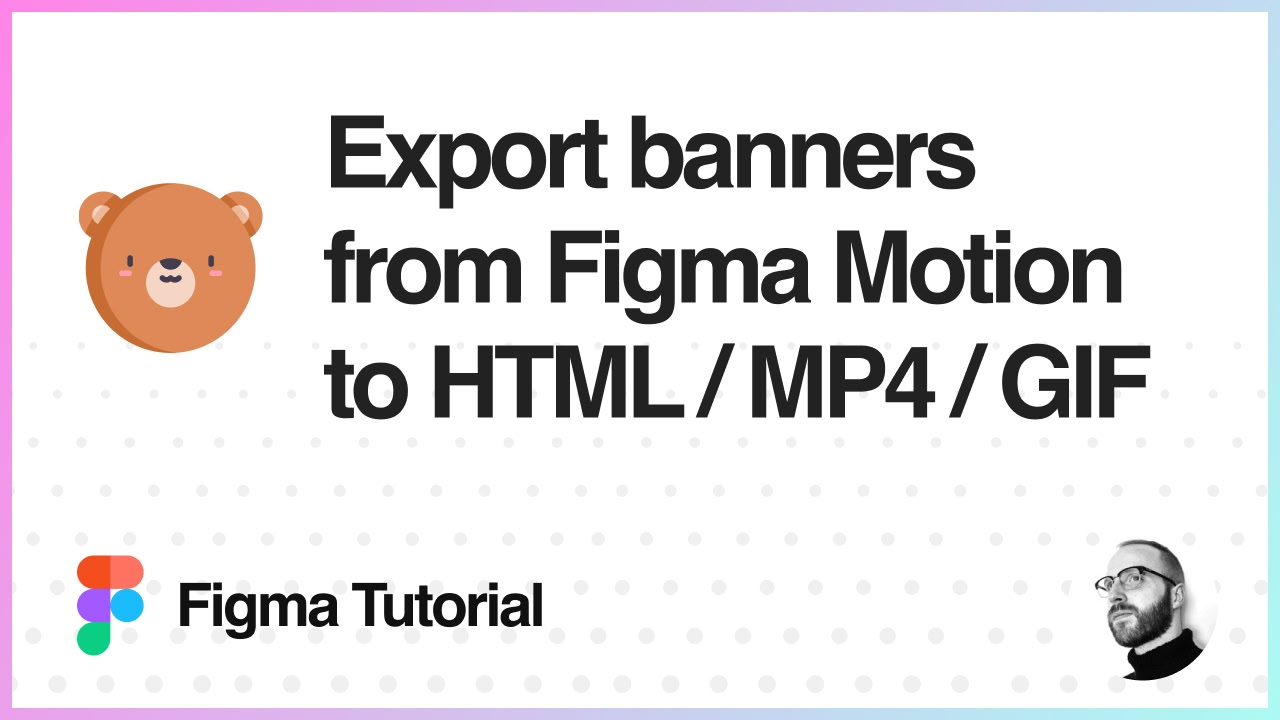
Today, I’m going to be showing you how to export animated banners from Figma to HTML for the Flashtalking ad platform.
To do that, we can install a Figma plugin called Bannerify. If you haven’t already installed it, you can go to the top left corner of the Figma toolbar and click on the Figma icon, and then if you go down to “Community” and click on the search bar, you can type in the keyword “bannerify”; then if you click on the “plugins” tab, you’ll see a result that says “Bannerify HTML Exporter”. If you haven’t already installed it, you can click on the little “install” button on the right hand side and then once you’ve clicked it, it will change to look like mine to say “installed” with a little checkmark, and that’s how you know it’s ready.
The second thing we’ll do, just to get started, is to click into the “Bannerify” plugin title, and when we do that it’ll open up the Figma plugin description. If you scroll down a little bit to the section that’s called “additional notes”, the first bullet point in there contains a URL, and if you copy that URL on the second line and paste it into your web browser, that’s going to let you duplicate a copy of the project that we’re going to be using in this tutorial; that’s just going to give you a really easy way to have a pre-designed set of banners with some animations on it to try this out, but of course if you have your own design, feel free to use that one instead.
Now that we’ve cloned that project and installed the Bannerify Figma plugin, once you’ve opened the file, just right click anywhere on the page and go down to “plugins”, and then go to “Bannerify HTML Exporter” and click on that. That’s just going to fire up the Bannerify Figma plugin that we just installed, and once that loads you be able to see that it’s loaded in all of the banners from our Figma file into the Figma plugin. If we click on this little play icon you can see that we’ve already got some preset animations that have come with the file.
This Figma tutorial will not be covering how to add those animations in or go through all the timeline sort of tutorial, but if you do need to watch a video on that and get up to speed for your own banners or just to understand how it works, we do have another Figma tutorial on our YouTube channel, and you can watch that one; it goes through our 40 minutes and it’s a really comprehensive guide to creating and animating these banners using the Bannerify Figma plugin; but today because we’ve already got this set up and we’re happy with all of our animations, all we want to do is export them from Figma to HTML for Flashtalking.
The first thing we need to do is just click on the top right corner of the Figma plugin, there’s a button called “Export banners to HTML”; I’m going to click on that, and you’ll see we’ve got a few different settings here, but the one that we’re interested in today it’s just in the bottom right called “code output settings”. Underneath the “export format” label you’ll see a drop-down list, and if you click on that drop-down, it’s going to reveal a whole bunch of different platforms. Today, the one that we’re interested in is the “Flashtalking” platform; that’s the one near the bottom, I’m just highlighting that now; if you click on “Flashtalking”, that will change the export format option to be Flashtalking and that’s going to tell Bannerify that’s the format that we want to export to.
To export our banners from Figma to HTML for Flashtalking, all we need to do now is click on the “Export banners” button in the bottom right; I’m just going to click on that now, and this is going to generate all of the code that we need, and all of the images that we need from Figma into a little zip file for us that we can use. I’m just going to save that, and if I go to my desktop and open up the zip file, you’ll see that we get a folder full of all of the banners that we just exported from Figma. You can see the names are all matching up with the frames and it’s got all the dimensions in here as well.
The easiest way to see what that’s just output for us is by clicking on the “index.html” file; if you double click on that, that’s just loaded up the banners index file, and you can see all of the banners in here loading up is expected with all the animations; and we can play them again just by clicking on this little play button in the top right and make sure everything’s looking good, which it is; everything’s coming in as we expect.
To get an idea of what has actually been exported by Bannerify, what we can do is open up our code editor; in this case I’m just using Visual Studio Code, but you can use anything you like. I’m just going to drag in the medium rectangle folder as an example, and also just to open up the index file in the browser so we can see what banner we’re looking at. In Visual Studio Code you can see on the left hand side here we’ve got all of our files and folders, and just clicking on the “index.html” file we can see that we’ve got all of our image elements here, we’ve got a CSS file, a JavaScript file, which is all looking good.
The CSS contains all the positioning and all of the animations that we need; that all gets generated for us automatically, and then the JavaScript file contains some code that’s specific to the Flashtalking the ad platform. This is including some code that’s going to fire and apply a click tag to our banner; this has already been generated, you don’t have to modify it; this is just to show you what’s being included, and just to make sure that we have selected the right platform, which we have.
The last file that it includes for us is specific to the Flashtalking platform; it’s this “manifest.js” file; When we upload this banner into Flashtalking, it’s going to get picked up by the platform and it’s going to understand some of these things that we’re telling it here. It’s telling us it’s going to tell Flashtalking where to look for the banner file (in the index.html), what the width and height is, how many click tags that contains, and things like that; so that all gets generated for you, you don’t have to worry about that at all; you don’t need to modify this, but of course you can if you wanted to, but this is just an example of what is getting exported by the Bannerify Figma plugin.
That’s everything that you need to do to export animated banners from Figma to HTML for Flashtalking. You don’t need to have any developers to do this, you don’t need to know code to do this, you can just use the Bannerify Figma plugin and that’s going to give you everything that you need to export those banners from Figma to HTML in just a few seconds, like we just saw.
I hope that’s been helpful if you’ve been looking for a way to do this directly from Figma to HTML for Flashtalking. This is one of many formats that Bannerify supports; so if you do need to use it for another platform, we have some other Figma tutorials on our Figmatic YouTube channel that you can check out and see how they work as well. Until next time, thank you as always for watching, and we’ll be back soon with more Figma tutorials just like this one.

























 Pro Bundle